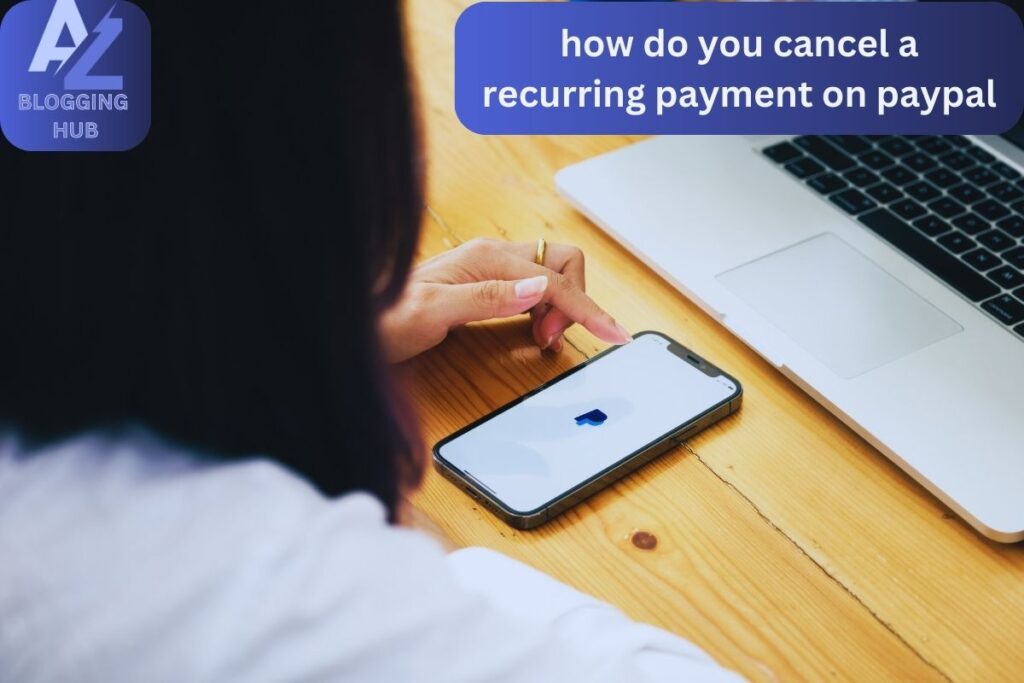
How Do You Cancel a Recurring Payment on PayPal
Recurring payments are incredibly useful for managing subscriptions and services without the need for manual intervention. However, there might come a time when you need to cancel a recurring payment on PayPal. Whether it’s due to a change in services or simply managing your finances better, knowing how to stop these payments is crucial.
In this detailed guide, we’ll walk you through every step of the process, ensuring you understand how to handle your subscriptions effectively.
How Do You Cancel a Recurring Payment on PayPal Without Any Hassle?
If you’re wondering how do you cancel a recurring payment on PayPal without complications, you’ve come to the right place. The process is designed to be user-friendly, but having a clear guide can make it even easier. Here’s a step-by-step breakdown:
- 1. Log Into Your PayPal Account Start by logging into your PayPal account from a computer or mobile browser.
2. Access Your Account Settings Click the gear icon at the top right corner of the page to access your Account Settings.
3. Navigate to Payments Go to the “Payments” section in your account settings. This section lets you manage all your payment activities, including recurring payments.
4. Manage Automatic Payments Click on “Manage Automatic Payments” to view all your active subscriptions and recurring charges.
5. Select the Subscription to Cancel Choose the subscription you wish to cancel from the list.
6. Cancel the Payment Click the “Cancel” button and follow the confirmation prompts to stop the recurring payment.
How Do You Cancel a Recurring Payment on PayPal If You’re Using the Mobile App?
If you’re using the PayPal app, canceling a recurring payment is straightforward. Here’s how to stop automatic payments on the PayPal app:
- 1. Open the PayPal App Launch the PayPal app on your device and log in if you’re not already logged in.
2. Access Your Settings Tap the gear icon to open the Settings menu.
3. Select Automatic Payments From the settings menu, select “Automatic Payments” to manage your recurring subscriptions.
4. Choose the Subscription Find the subscription you want to cancel and tap on it.
5. Remove PayPal as Your Payment Method Tap “Remove PayPal as your payment method”. You can also contact the subscription provider directly if needed.
6. Confirm the Cancellation Confirm your choice by selecting “Remove”.
How to Cancel Automatic Payments on PayPal on iPhone
For iPhone users, the process to cancel automatic payments on PayPal is similar to other mobile devices. Here’s a detailed guide:
- 1. Open the PayPal App Ensure you have the latest version of the PayPal app and open it on your iPhone.
2. Go to Settings Tap the gear icon located in the top right corner to access the settings.
3. Navigate to Automatic Payments Select “Automatic Payments” from the settings menu.
4. Find the Subscription Browse through your active payments and select the one you want to cancel.
5. Cancel the Payment Tap “Remove PayPal as your payment method” and confirm by selecting “Remove”.
How to Cancel Recurring Payments on PayPal Business Account
If you’re managing a business and need to cancel a customer’s recurring payment, follow these steps to handle recurring payments on a PayPal Business account:
- 1. Log Into Your PayPal Business Account Access your PayPal Business Dashboard by logging in.
2. Go to Manage Subscriptions Locate the “Recurring Payments” section or hover over “Pay & Get Paid” and select “Subscriptions”.
3. Select the Subscription Find and select the subscription you wish to cancel from the list of active plans.
4. Cancel the Subscription Click the “Cancel” button and confirm your action to stop future payments.
PayPal Manage Automatic Payments: Tips and Best Practices
Managing automatic payments on PayPal is an essential part of keeping your subscriptions in check. Here are some tips to help you stay on top of your payments:
- 1. Regular Reviews: Periodically review your automatic payments to ensure you’re not subscribed to services you no longer use.
2. Cancel in Advance: Always cancel subscriptions before the next billing cycle to avoid additional charges.
3. Stay Informed: Keep track of any changes in your subscriptions, including any changes to billing amounts or service terms.
Conclusion
Understanding how to cancel a recurring payment on PayPal is crucial for managing your subscriptions and finances effectively. Whether you’re handling personal subscriptions or business payments, knowing how to navigate PayPal’s settings and manage automatic payments will help you avoid unwanted charges and maintain control over your financial commitments.
For more helpful resources on managing your PayPal account, check out PayPal’s Help Center. If you’re a business looking to integrate seamless payment solutions, consider exploring FreshBooks for additional tools and features that can streamline your payment processes.
Feel free to reach out if you have any questions or need further assistance. Managing your payments has never been easier!


